15170-93900 Diaphragm Set Suzuki
DT15 MLE, DT15ELD, DT15ELE, DT15ELF, DT15ELG, DT15ELH, DT15ELJ, DT15ESD, DT15ESE, DT15ESF, DT15ESG, DT15ESH, DT15ESJ, DT15MLD, DT15MLF, DT15MLG, DT15MLH, DT15MLJ, DT15MSD, DT15MSE, DT15MSF, DT15MSG, DT15MSH, DT15MSJ, DT9.9ELD, DT9.9ELE, DT9.9ELF, DT9
Diaphragm

Price: query
Rating:
You can buy parts:
As an associate, we earn commssions on qualifying purchases through the links below

$8.90
28-07-2022
0.1875[0.08] Pounds
-: -
Peach Marine Parts PM-15170-93911 Diaphragm Gasket Set, Fuel Pump; Replaces Suzuki: 15170-93911, 15170-93910, 15170-93901, 15170-93900, 99954-15KIT, 15170-93920, Sierra: 18-3495, Itaco: S151 Made b
New
New
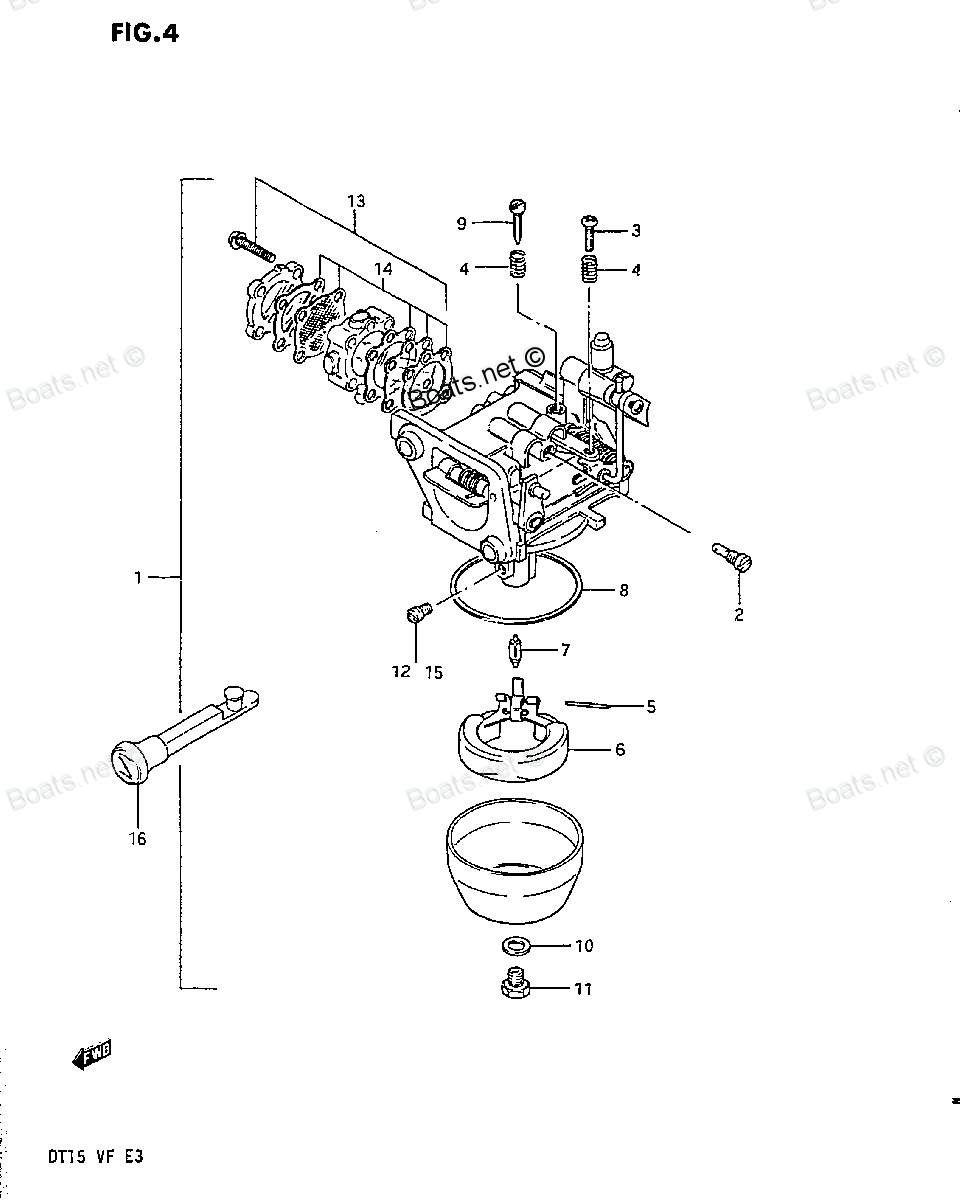
Number on catalog scheme: 14
Compatible models:
DT15 MLE
DT15ELD
DT15ELE
DT15ELF
DT15ELG
DT15ELH
DT15ELJ
DT15ESD
DT15ESE
DT15ESF
DT15ESG
DT15ESH
DT15ESJ
DT15MLD
DT15MLF
DT15MLG
DT15MLH
DT15MLJ
DT15MSD
DT15MSE
DT15MSF
DT15MSG
DT15MSH
DT15MSJ
DT9.9ELD
DT9.9ELE
DT9.9ELF
DT9.9ELG
DT9.9ELH
DT9.9ESD
DT9.9ESE
DT9.9ESF
DT9.9ESG
DT9.9ESH
DT9.9MLD
DT9.9MLE
DT9.9MLF
DT9.9MLG
DT9.9MLH
DT9.9MSD
DT9.9MSE
DT9.9MSF
DT9.9MSG
DT9.9MSH
Suzuki
Suzuki entire parts catalog list:
- Carburetor » 15170-93900
- Carburetor » 15170-93900
- Carburetor » 15170-93900
- Carburetor » 15170-93900
- Carburetor » 15170-93900
- Carburetor » 15170-93900
- Carburetor » 15170-93900
- Carburetor » 15170-93900
- Carburetor » 15170-93900
- Carburetor » 15170-93900
- Carburetor » 15170-93900
- Carburetor » 15170-93900
- Carburetor » 15170-93900
- Carburetor » 15170-93900
- Carburetor » 15170-93900
- Carburetor » 15170-93900
- Carburetor » 15170-93900
- Carburetor » 15170-93900
- Carburetor » 15170-93900
- Carburetor » 15170-93900
- Carburetor » 15170-93900
- Carburetor » 15170-93900
- Carburetor » 15170-93900
- Carburetor » 15170-93900
- Carburetor » 15170-93900
- Carburetor » 15170-93900
- Carburetor » 15170-93900
- Carburetor » 15170-93900
- Carburetor » 15170-93900
- Carburetor » 15170-93900
- Carburetor » 15170-93900
- Carburetor » 15170-93900
- Carburetor » 15170-93900
- Carburetor » 15170-93900
- Carburetor » 15170-93900
- Carburetor » 15170-93900
- Carburetor » 15170-93900
- Carburetor » 15170-93900
- Carburetor » 15170-93900
- Carburetor » 15170-93900
- Carburetor » 15170-93900
- Carburetor » 15170-93900
- Carburetor » 15170-93900
- Carburetor » 15170-93900
Information:
Table 1
J1939 Code and Description CDL Code and Description Comments
101-13
Crankcase Air Pressure Sensor : Out of Calibration 101-13
Crankcase Air Pressure Sensor : Out of Calibration During key on, the signal voltage from the crankcase air pressure sensor indicated a crankcase air pressure greater than +/- 1.5 kPa (0.2 psi).
There is not a reference sensor for this sensor
3563-13
Engine Intake Manifold #1 Absolute Pressure : Out of Calibration 1785-13
Intake Manifold Pressure Sensor : Out of Calibration During key on, the signal voltage from the intake manifold pressure sensor indicated an intake manifold pressure greater than +/- 18 kPa (3 psi).
Reference sensor: Atmospheric Pressure Sensor
Table 2
Troubleshooting Test Steps Values Results
1. Check for Codes
Note: The engine coolant temperature must be greater than 0° C (32° F) before beginning this procedure.
A. Connect Cat® Electronic Technician (ET) to the service tool connector.
B. Look for active codes that are associated with the system for the event code.
Codes
Result: An associated code is active.
Repair: Troubleshoot any associated codes before continuing with this test.
Result: A code is active or logged.
Proceed to Test Step 2.
2. Check for Debris
A. Turn the keyswitch to the OFF position.
B. Check the sensor for debris.
C. If applicable, check the reference sensor for debris.
D. Check the sensor measurement port for blockage by debris.
E. If debris is found, clear the debris from the measurement port and replace the sensor.
F. Connect Cat ET.
G. Use Cat ET to monitor the following:
- Codes
Debris
Result: The sensor measurement port is not blocked by debris.
Proceed to Test Step 3.
Result: A -13 code is not active.
Return to service.
Result: A -13 code is active.
Repair: Replace the sensor. If more than one -13 code is active and the codes have a reference sensor, replace the reference sensor.
If the problem is not resolved, proceed to Test Step 3.
3. Inspect the Sensor Connector
A. Turn the keyswitch to the OFF position.
B. Inspect the sensor connector for moisture and corrosion.
Moisture
Result: The sensor connector does not have moisture or corrosion.
Proceed to Test Step 5.
Result: The sensor connector has moisture and/or corrosion.
Proceed to Test Step 4.
4. Remove any Moisture and/or Corrosion
A. Turn the keyswitch to the OFF position.
B. Disconnect the sensor connector.
C. Remove any moisture and/or corrosion from the outside of the connector. Check for moisture and corrosion inside the connector. Verify that the seals for the wires are sealing correctly. Refer to Troubleshooting, "Electrical Connectors - Inspect" for additional information.
D. If necessary, repair or replace the connector.
E. Reconnect the connector. Verify that the connection is secure.
F. Connect Cat ET.
G. Use Cat ET to monitor the following:
- Codes
Moisture
Result: A -13 code is not active.
Return the service.
Result: A -13 code is active.
Repair: Replace the sensor. If more than one -13 code is active and the codes have a reference sensor, replace the reference sensor.
If the problem is not resolved, proceed to Test Step 5.
5. Check for Moisture and/or Corrosion in the Circuit
A. Turn the keyswitch to the OFF position.
B. Check all the connectors in the circuit for moisture and/or corrosion.
C. Check for corrosion inside the connector. Verify that the seals for the wires are sealing correctly. Refer to Troubleshooting, "Electrical Connectors - Inspect" for additional information.
D. If necessary, repair or replace the connector.
E. Reconnect the connector. Verify that the connection is secure.
F. Connect Cat ET.
G. Use Cat ET to monitor the following:
- Codes
Moisture
Result: A -13 code is not active.
Return the service.
Result: A -13 code is active.
Repair: Replace the sensor. If more than one -13 code is active and the codes have a reference sensor, replace the reference sensor.
Verify that the repair eliminated the problem.
If the procedure did not correct the issue, contact your Cat dealer Technical Communicator (TC). For further assistance, your TC can confer with the Dealer Solutions Network (DSN).