48511-95500 PLUG, OIL FILLER Suzuki
DT115, DT140, DT40C, DT55CRLJ, DT55CRLK, DT55CRLL, DT55HTCLJ, DT55HTCLK, DT55HTCLL, DT55TCLJ, DT55TCLK, DT55TCLL, DT55TCLM, DT55TCLN, DT55TCLP, DT55TCLR, DT55TCLS, DT55TCLT, DT55TCLV, DT65CRLJ, DT65CRLK, DT65CRLL, DT65HTCLK, DT65HTCLL, DT65TCLJ, DT65
PLUG

Price: query
Rating:
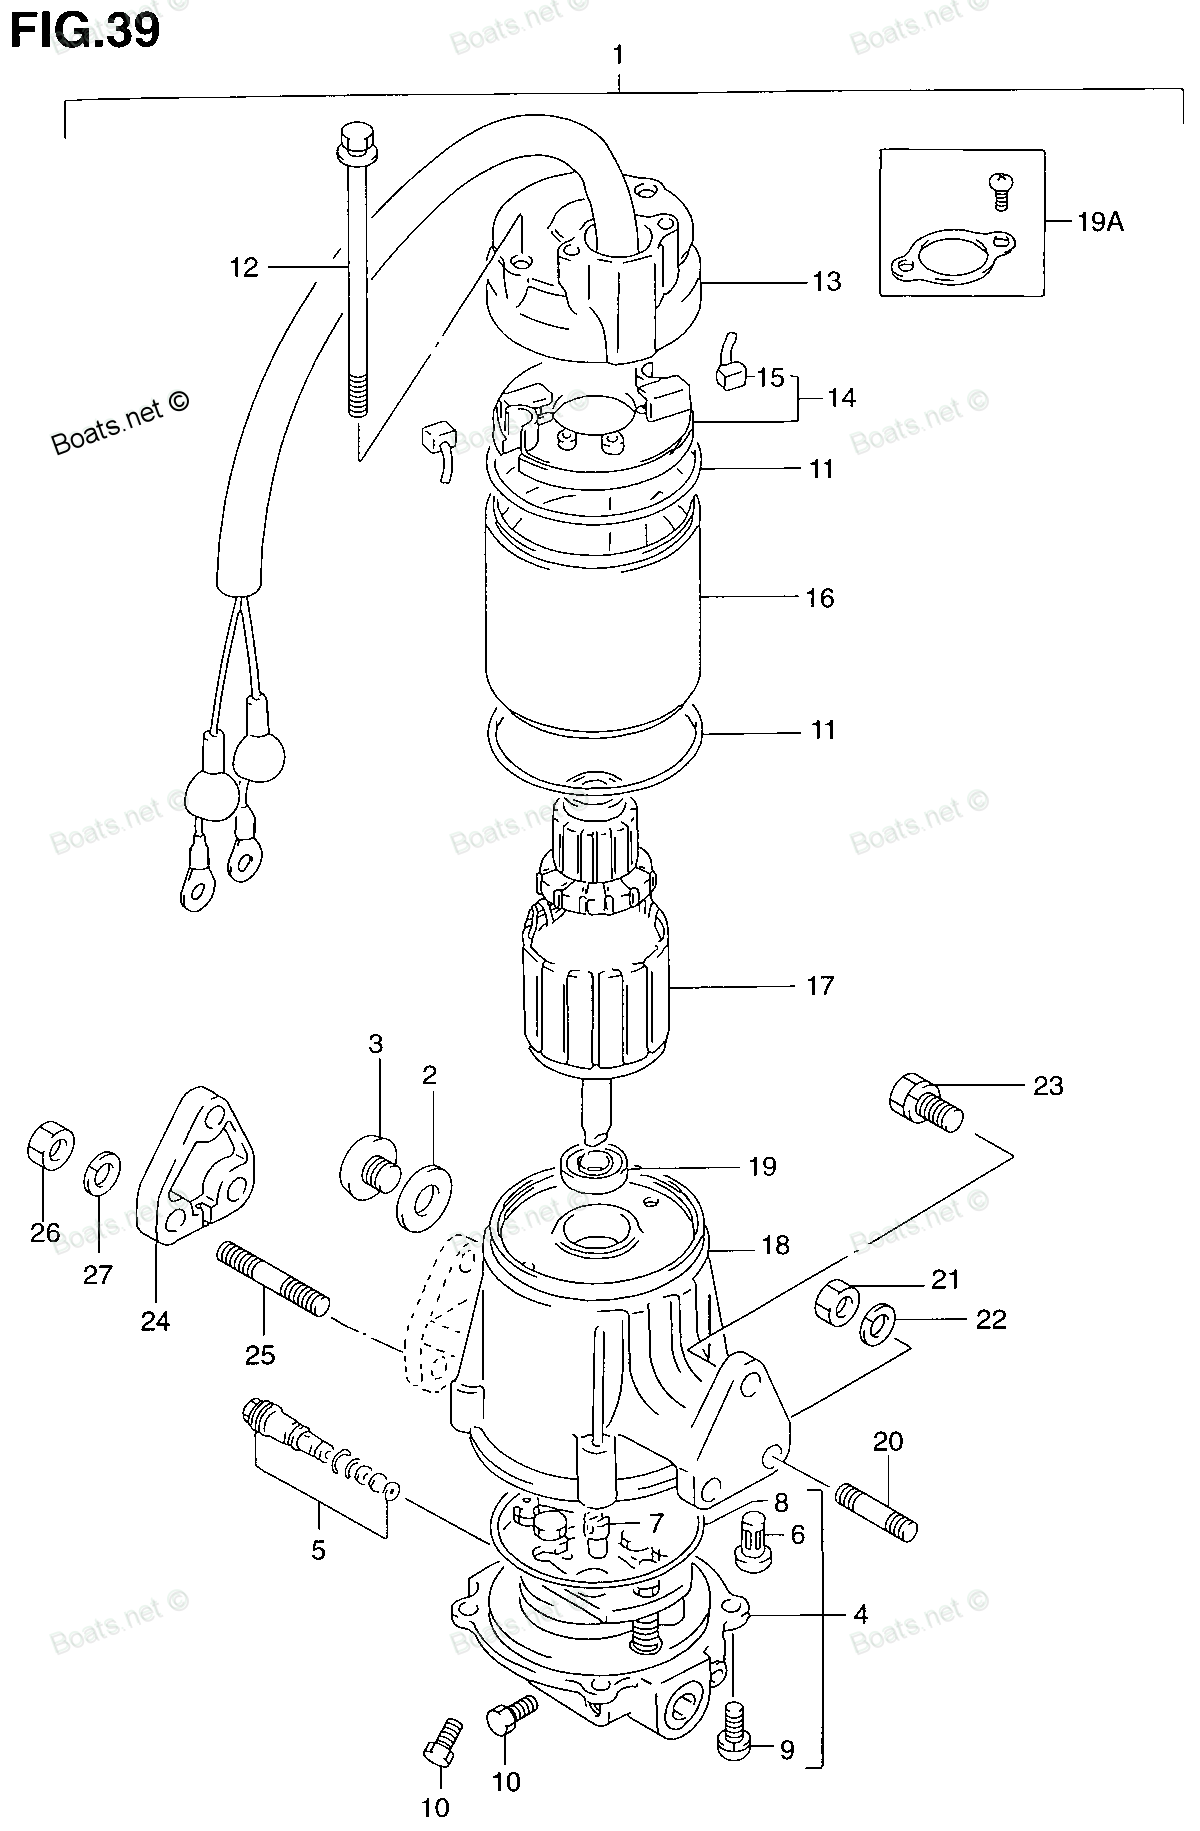
Number on catalog scheme: 3
Compatible models:
DT115
DT140
DT40C
DT55CRLJ
DT55CRLK
DT55CRLL
DT55HTCLJ
DT55HTCLK
DT55HTCLL
DT55TCLJ
DT55TCLK
DT55TCLL
DT55TCLM
DT55TCLN
DT55TCLP
DT55TCLR
DT55TCLS
DT55TCLT
DT55TCLV
DT65CRLJ
DT65CRLK
DT65CRLL
DT65HTCLK
DT65HTCLL
DT65TCLJ
DT65TCLK
DT65TCLL
DT65TCLM
DT65TCLN
DT65TCLP
DT65TCLR
DT65TCLS
DT65TCLT
DT65TCLV
DT75TCLJ
DT75TCLK
DT75TCLL
DT75TCLM
DT75TCLN
DT75TCLP
DT75TCLR
DT75TCLS
DT75TCLT
DT75TCLV
DT85TCLJ
DT85TCLK
DT85TCLL
DT85TCLM
DT85TCLN
DT85TCLP
DT85TCLR
DT85TCLS
DT85TCLT
DT85TCLV
DT85TCLW
DT85TCLX
DT85TCLY
Suzuki
Suzuki entire parts catalog list:
- POWER UNIT (MODEL:90~95) » 48511-95500
- POWER UNIT (MODEL:90~95) » 48511-95500
- POWER UNIT (DT40TC-MODEL:90~93) » 48511-95500
- POWER UNIT 91-94 » 48511-95500
- POWER UNIT 91-94 » 48511-95500
- POWER UNIT 91-94 » 48511-95500
- POWER UNIT 91-94 » 48511-95500
- POWER UNIT 91-94 » 48511-95500
- POWER UNIT 91-94 » 48511-95500
- POWER UNIT 91-94 » 48511-95500
- POWER UNIT 91-94 » 48511-95500
- POWER UNIT 91-94 » 48511-95500
- POWER UNIT 91-94 » 48511-95500
- POWER UNIT 91-94 » 48511-95500
- POWER UNIT 91-94 » 48511-95500
- POWER UNIT 91-94 » 48511-95500
- POWER UNIT 91-94 » 48511-95500
- POWER UNIT 91-94 » 48511-95500
- POWER UNIT 91-94 » 48511-95500
- POWER UNIT 91-94 » 48511-95500
- POWER UNIT 91-94 » 48511-95500
- POWER UNIT 91-94 » 48511-95500
- POWER UNIT 91-94 » 48511-95500
- POWER UNIT 91-94 » 48511-95500
- POWER UNIT 91-94 » 48511-95500
- POWER UNIT 91-94 » 48511-95500
- POWER UNIT 91-94 » 48511-95500
- POWER UNIT 91-94 » 48511-95500
- POWER UNIT 91-94 » 48511-95500
- POWER UNIT 91-94 » 48511-95500
- POWER UNIT 91-94 » 48511-95500
- POWER UNIT 91-94 » 48511-95500
- POWER UNIT 91-94 » 48511-95500
- POWER UNIT 91-94 » 48511-95500
- POWER UNIT 90-94 » 48511-95500
- POWER UNIT 90-94 » 48511-95500
- POWER UNIT 90-94 » 48511-95500
- POWER UNIT 90-94 » 48511-95500
- POWER UNIT 90-94 » 48511-95500
- POWER UNIT 90-94 » 48511-95500
- POWER UNIT 90-94 » 48511-95500
- POWER UNIT 90-94 » 48511-95500
- POWER UNIT 90-94 » 48511-95500
- POWER UNIT 90-94 » 48511-95500
- POWER UNIT 90-94 » 48511-95500
- POWER UNIT 90-94 » 48511-95500
- POWER UNIT 90-94 » 48511-95500
- POWER UNIT 90-94 » 48511-95500
- POWER UNIT 90-94 » 48511-95500
- POWER UNIT 90-94 » 48511-95500
- POWER UNIT 90-94 » 48511-95500
- POWER UNIT 90-94 » 48511-95500
- POWER UNIT 90-94 » 48511-95500
- POWER UNIT 90-94 » 48511-95500
- POWER UNIT 90-94 » 48511-95500
- POWER UNIT 90-94 » 48511-95500
- POWER UNIT 90-94 » 48511-95500
Information:
1. Remove tube assemblies (1) and (2) from the torque converter and the oil cooler. 2. Disconnect wire harness (3) at the firewall. 3. Disconnect heater hoses (4) and (5) and remove the clips that hold them to the engine. 4. Disconnect air lines (6) and (7). 5. Remove four bolts (9), tube (8) and the water temperature regulator. 6. Loosen hose clamps (10) and (12).7. Remove bolts (13) and tube assembly (11). 8. Loosen hose clamp (15) and remove tube (14). 9. Disconnect control cable (16) from the governor.10. Remove the bolts that hold bracket (17) to the engine. Move the control cable and bracket away from the engine. 11. Put identification on wires (18) and (19). Disconnect wires (18) and (19) from the solenoid and starter. 12. Disconnect wire harnesses (20) at the flywheel housing. 13. Disconnect air conditioning lines (21) from the air conditioning compressor. 14. Disconnect fuel lines (22) and (23). 15. Remove clips (24) and (25) from the cylinder block. Fasten the fuel lines to the side of the frame so they are clear of the engine. 16. Remove the bolts that hold disconnect switch (27) in place.17. Remove bolts (26) from the engine mounts. 18. Put floor jack (28) in position under the transmission housing so it will not fall when the engine is removed. 19. Fasten a hoist to engine (29) as shown. Install tooling (A) on the front cover.20. Remove the bolts that hold the transmission case to the flywheel housing.21. Lift up on the engine a small amount and remove it. The weight of the engine is 1058 kg (2350 lb.). If necessary, use forcing screws to make a separation of the transmission case and flywheel housing. 22. Put blocks (30) between transmission case (31) and the front support of the rear axle.Install Engine
1. Fasten a hoist and tooling (A) to the engine. Put engine (1) in position and make an alignment of the flywheel and the torque converter. For easier installation keep the engine level. Make sure the O-ring seal is in position on the transmission case.2. Install the bolts that hold the flywheel housing to the transmission.3. Remove the blocks from under the transmission housing. 4. Install front mounting bolts (2).5. Put disconnect switch (3) in position and install the bolts. 6. Put the fuel lines in position and install clips (4) and (5) that hold the fuel lines to the cylinder block. 7. Connect fuel lines (6) and (7). 8. Connect air conditioning lines (8) and (9) to the air conditioning compressor. 9. Connect wire harnesses (10) at the flywheel housing. 10. Connect wires (11) to the solenoid and wires (12) to the starter. 11. Put bracket (14) in position and install the bolts.12. Connect control linkage (13) to the governor. 13. Put tube (15) in position and install the hose clamp. 14. Put tubes (16) and (18) in position and install hose clamps (17). 15. Put the water temperature regulator, the gasket and tube (19) in position and install the bolts. 16. Connect air lines (20) and (21) to the tubes. 17. Connect heater hoses (22) and (23) as shown. Install clip (24). 18. Connect wire harness (25) at the firewall.19. Make sure the O-ring seals are in place in the tube assemblies. 20. Install tube assemblies (26) and (27).21. Fill the transmission with oil to the correct level. See LUBRICATION AND MAINTENANCE GUIDE.22. Fill the hydraulic tank with hydraulic oil to the correct level. See LUBRICATION AND MAINTENANCE GUIDE.23. See AIR CONDITIONING AND HEATING SERVICE MANUAL, Form No. SENR7454, for charging the air conditioning system.end by:a) install rear drive shaftb) install air cleanerc) install mufflerd) install radiator and guard
1. Fasten a hoist and tooling (A) to the engine. Put engine (1) in position and make an alignment of the flywheel and the torque converter. For easier installation keep the engine level. Make sure the O-ring seal is in position on the transmission case.2. Install the bolts that hold the flywheel housing to the transmission.3. Remove the blocks from under the transmission housing. 4. Install front mounting bolts (2).5. Put disconnect switch (3) in position and install the bolts. 6. Put the fuel lines in position and install clips (4) and (5) that hold the fuel lines to the cylinder block. 7. Connect fuel lines (6) and (7). 8. Connect air conditioning lines (8) and (9) to the air conditioning compressor. 9. Connect wire harnesses (10) at the flywheel housing. 10. Connect wires (11) to the solenoid and wires (12) to the starter. 11. Put bracket (14) in position and install the bolts.12. Connect control linkage (13) to the governor. 13. Put tube (15) in position and install the hose clamp. 14. Put tubes (16) and (18) in position and install hose clamps (17). 15. Put the water temperature regulator, the gasket and tube (19) in position and install the bolts. 16. Connect air lines (20) and (21) to the tubes. 17. Connect heater hoses (22) and (23) as shown. Install clip (24). 18. Connect wire harness (25) at the firewall.19. Make sure the O-ring seals are in place in the tube assemblies. 20. Install tube assemblies (26) and (27).21. Fill the transmission with oil to the correct level. See LUBRICATION AND MAINTENANCE GUIDE.22. Fill the hydraulic tank with hydraulic oil to the correct level. See LUBRICATION AND MAINTENANCE GUIDE.23. See AIR CONDITIONING AND HEATING SERVICE MANUAL, Form No. SENR7454, for charging the air conditioning system.end by:a) install rear drive shaftb) install air cleanerc) install mufflerd) install radiator and guard
Parts plug Suzuki:
39602-93900
39602-93900 Plug Assembly, Lighting
DF15, DF15, DF15, DF15A, DF15S, DF20A, DF25, DF25(R)S, DF25Q, DF25Q(QR), DF25R, DF25R, DF25T, DF30, DF30Q, DF30Q(QR), DF30T, DF4, DF4, DF4, DF46, DF4L, DF6, DF6, DF6, DF6L, DF8A, DF8AR, DF9.9, DF9.9A, DF9.9AR, DF9.9R, DF9.9RL, DF9.9S, DF9.9TH, DF9.9T
09250-15010

09250-15010 Plug
DF15, DF15, DF15S, DF9.9R, DF9.9RL, DF9.9S, DF9.9TH, DF9.9TH, DF99R, DF99TH, DT115, DT140, DT55CLF, DT55CRLG, DT55CRLJ, DT55CRLK, DT55CRLL, DT55CRSG, DT55CRSH, DT55HTCLH, DT55HTCLJ, DT55HTCLK, DT55HTCLL, DT55TCLG, DT55TCLH, DT55TCLJ, DT55TCLK, DT55TC
41152-94500
41152-94500 Plug, clamp bracket shaft
DF25, DF25Q, DF25Q(QR), DF25T, DF30, DF30Q, DF30Q(QR), DF30T, DF40, DF40, DF40QH, DF40TL, DF50, DF50, DF50QH, DF50TL, DT115, DT140, DT40C, DT55CLF, DT55CRLG, DT55CRLJ, DT55CRLK, DT55CRLL, DT55CRSG, DT55CRSH, DT55HTCLH, DT55HTCLJ, DT55HTCLK, DT55HTCLL
09246-04005
09246-04005 PLUG
DT115, DT140, DT150, DT150SSH, DT150SSJ, DT150SSK, DT150SSL, DT150SSM, DT150SSN, DT150STCLP, DT150STCLR, DT150STCLS, DT150STCLT, DT150TCLH, DT150TCLJ, DT150TCLK, DT150TCLL, DT150TCLM, DT150TCLN, DT150TCLP, DT150TCLR, DT150TCXGM, DT150TCXGN, DT150TCXG
65740-95D01

65740-95D01 PLUG, FUEL CONNECTOR
DF15, DF15, DF15A, DF15S, DF20A, DF25, DF25(R)S, DF25Q, DF25Q(QR), DF25R, DF25R, DF25T, DF30, DF30Q, DF30Q(QR), DF30T, DF40, DF40, DF40QH, DF40TL, DF50, DF50, DF50QH, DF50TL, DF8A, DF8AR, DF9.9A, DF9.9AR, DF9.9R, DF9.9RL, DF9.9S, DF9.9TH, DF9.9TH, DF
16361-94600
09246-05006

09246-05006 PLUG
DF100, DF100, DF100, DF100A, DF115, DF115, DF115, DF115A, DF140, DF140, DF140, DF140A, DF140T, DF140T, DF140Z, DF140Z, DF140Z, DF140Z, DF150, DF15S, DF175, DF200, DF200, DF200, DF225, DF225, DF225, DF25, DF250, DF250, DF250, DF250A, DF25R, DF25R, DF3
17636-94500